Using ezScriptWriter on a Network
NOTE: All instructions refer to the Windows XP operating system. The information contained in this guide is meant to assist an experienced computer user in the setup and configuration of a simple network. We do not provide networking support beyond what is offered here and strongly recommend that you obtain help from a qualified network technician if you are unsure of how to proceed.
Step One - Setup and configure your wired (or wireless) network:
Before using the ezScriptWriter software on a network, you must first have a network up and running. Generally a peer-to-peer (workgroup) network is sufficient for using ezScriptWriter software.
For the best source of information on setting up your hardware network, see Microsoft's website: www.microsoft.com/windowsxp/using/networking/setup/wired.mspx
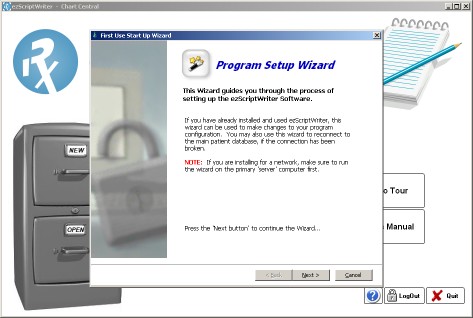
Step Two - Run the Setup Wizard on the Main Computer:
Select the computer that will serve as the "Primary" computer. This could be your exam computer, a front desk computer or a dedicated server.
Install the ezScriptWriter software on this computer and run the Setup Wizard. Specify "First Time Installation" and select the local directory that the ezScriptWriter database resides in.
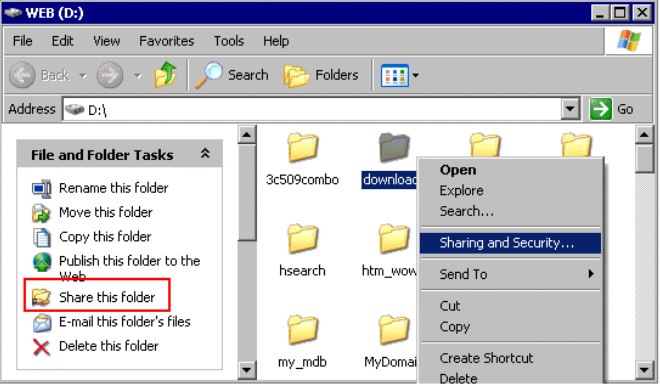
Step Three - Set the Database folder to allow "Sharing"
In order for other computers on your network to see the ezScriptWriter database, the folder that the file is located in needs to be made visible to other network computers. This process is called "sharing" the folder.
Step Four - Map network drive on all computers that will run ezScriptWriter
On each computer than you intend to install and run ezScriptWriter, you must map the previously shared drive on the "main computer" so that it is accessible by the ezWriterSoftware. This process is described below.
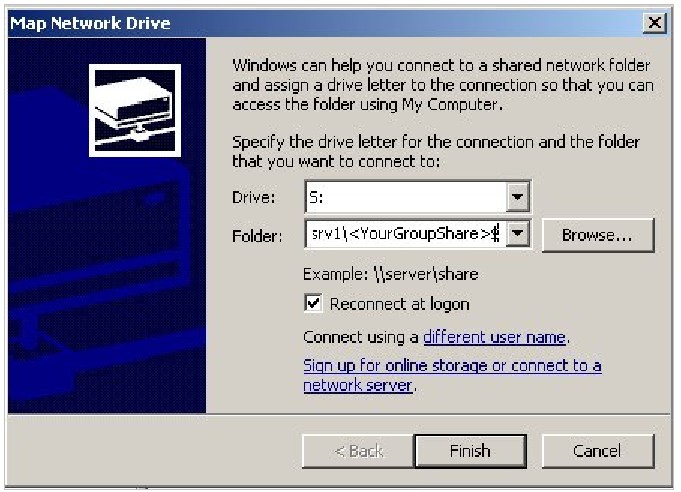
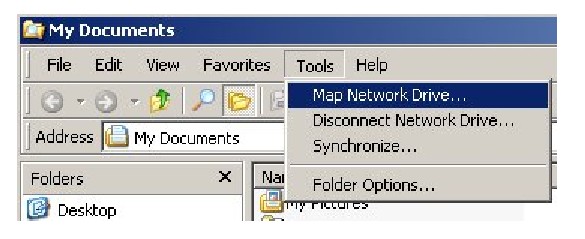
To map a network drive within Windows Explorer:
1. On the Microsoft Windows toolbar, right-click Start, and then choose Explore.
2. From the Tools menu, select Map Network Drive.
3. Click the Browse button.
4. Click the plus signs until you locate the folder that contains the ezScriptWriter database file (on your "primary computer", this would usually be the "C:\Program Files\ezScriptWriter\Data" path). Select the folder and click OK.
5. Select an unassigned drive letter. Windows defaults to the first available letter, but you can choose any drive letter that is unassigned. We recommend using the letter "Z" if available.
6. Select Reconnect at Logon.
7. Click OK.
8. If the Finish operation succeeds, the network drive will be mapped.
9. The ezScriptWriter database can now be easily referenced using the new drive (for example "Z:\ezDB.mdb").
TROUBLESHOOTING: If the network drive cannot be mapped, ensure the folder name is spelled correctly, that this folder was correctly set up for sharing on the remote computer, that the correct username and password have been entered (if necessary), and that the computer network connections are functioning properly.
Step Five - Let ezScriptWriter know where the Database is located
Once you have mapped the database path on the local computer, the last step is to let ezScriptWriter know this location. The Setup Wizard allows you to specify the location of the database. On Windows desktop screen, look for the ezScriptWriter icon and double click on it. When the program starts for the first time, the Setup Wizard will appear. Read the onscreen instructions carefully and choose the newly specified mapped drive as the database location.